This is a fun card to make and if you like folding this is the card for you.

closer view.

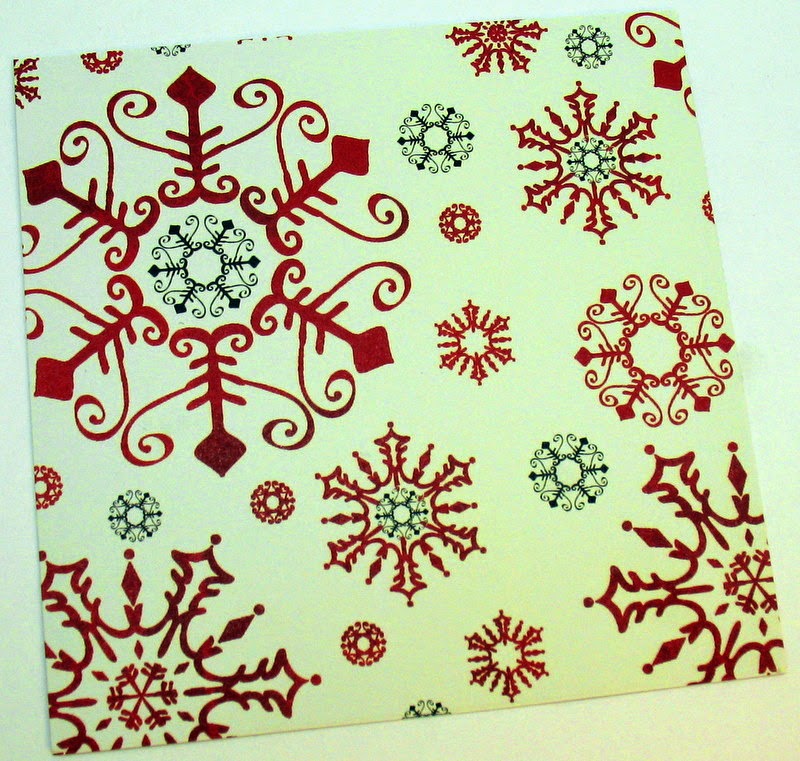
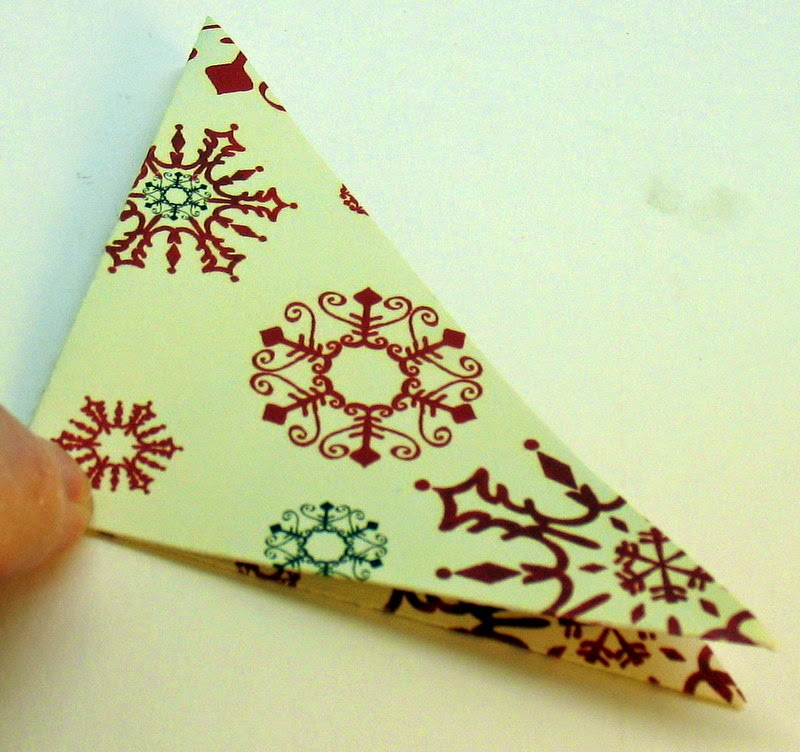
3in by 3 in.
I show you each fold. So follow all the steps on the folds.
next fold.

next.

this is what the inside will look like.

will look like this.
and this.

I inside will look like.
next step.

fold to the center.

and again.

this is what the folds is.

another view.

this how you place the layers. Building the tree.
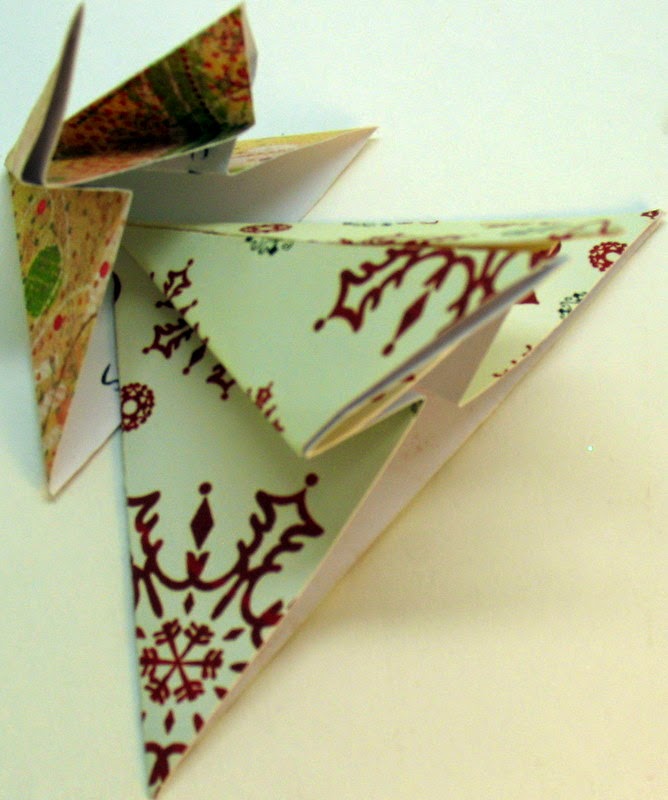
Slide the larger one under the smaller one. Then glue together.

I want to share with everyone how to make these wonderful Tea Bag Christmas Tree's. Last year I made a lot of them, and had to share with everyone, that was a card maker the instruction. I used THIN Christmas 12 by 12 sheets of craft paper. This is what it takes to make just one tree. So you can get a lot of trees out of one sheet of 12 by 12 craft paper. Cut (1) 3 by 3 inches, cut (1) 2 1/2 by 2 1/2 inches, cut (1) 2 by 2 inches, cut (1) 1 1/2 by 1 1/2 inches.
Now you are ready to start folding, if you have done tea bag folding this is going to be real easy for you, if you have not done any tea bag folding just take it slow it's really not that hard.
Step (1) OK start out with the 3 by 3, fold in half, turn paper fold in half again, done.
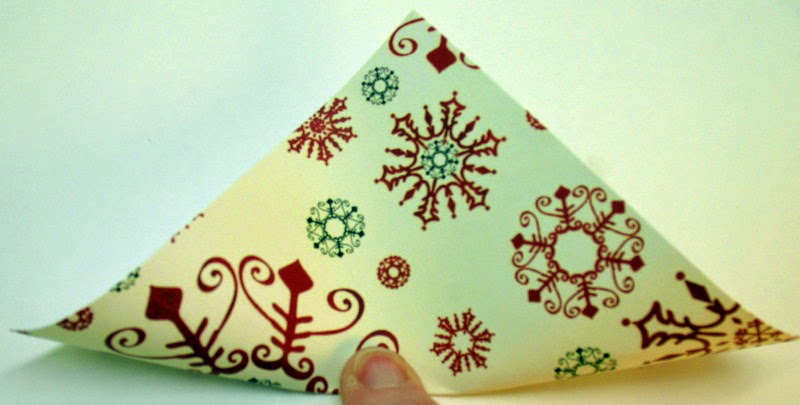
Step (2) fold from one corner to the other, turn paper and fold the other corner to the other, done.
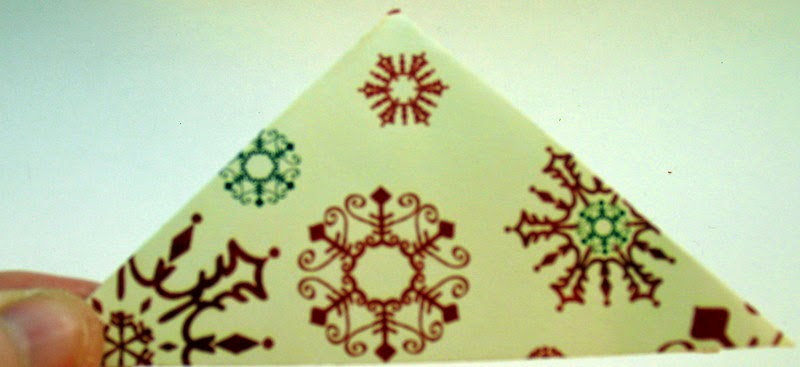
Step (3) This is the tricky step hold you paper in your hand and what I do is push the folds together now it looks like + (kinda). Now if you lay it down and put the sides together you will have a triangle pointing away from you. You will have two layers of paper, take the top layer of paper and fold to the middle, there will be a fold down the middle so bring that fold to that line and do the same on the other side. Now you will have a triangle with two folds toward the middle kind of popping up. YOU DID IT!!!!!
Now do the same thing with the other (3) sizes of paper. I sure hope you understand these instructions. It not leave a message in the comment area and I will answer any question you have. Now putting the tree together. I put the tree together before I put it on the card, I started with the bottom. Remember to tuck the triangle point a little into the above layer of the tree then glue that down just the area that is under the tree add your next layer of tree and so forth. When your tree is all together now you can put it on your card only glue the back layer of the tree you want it to have a full look. Now embellish you tree anyway you want. Use Stickles glitter glue, stickers, punch out small ornaments, make it sparkle, add a tree top. If you want your tree to be bigger just add some more squares by 1/2 inches. It is all up to you.